PHOTON XENON
Projection Surfaces have to be made visible for specific Displays in the 3D Scene before video content can be projected onto them.
A 3D object that was not made visible to a Display will still exist in the 3D Scene and the Timeline but will not have the ability to display content and will not act as a Projection Surface. Also, a 3D object can be made visible for some Displays while remaining invisible to others, therefore acting as a Projection Surface for specific video projectors.
Controlling the visibility of a 3D object for individual Displays is useful in contexts where multiple video projectors and screens coexist in the same space. Assigning the visibility of a Screen to specific Displays will ensure that the projected video content will not appear on other unintended surfaces. Also, specifying which Display sees which Screen helps a lot when optimizing a project — eliminating unnecessary Screens from the Visibility lists of selected Displays reduces the load on the servers. In some cases, 3D objects can be used to calibrate Displays but will not be used as Projection Surfaces.
The calibration processes described in Manual 2D Keystone Calibration and Manual 3D Calibration both feature a single 3D object mapped to a Display. When the 3D objects were added to the Objects Reference list, they were also automatically added to the Objects Visibility list.
Adding a Projection Surface to the Objects Visibility List
If a 3D object is added to the Objects Reference list (see Map the Plane to the Display), it will automatically appear in the Objects Visibility list because this behavior covers the most common setup (a 3D object corresponding to a Screen is calibrated and will show video content).
If you want to manually add a Projection Surface to the Objects Visibility list, follow these steps:
- Make sure the 3D Scene module is open (by pressing Alt + C OR by selecting from the Main menu) and that it is currently set in the Calibration mode (by pressing 4 OR by clicking on the
Calibration button).
- You should have already created the Display (see Add a Projector in the 3D Scene) and the 3D object that will act as the Projection Surface (see Add a Plane in the 3D Scene).
- Select the Display for which you want to make the Projection Surface visible by clicking on its entry in the Calibration Tools Window list.
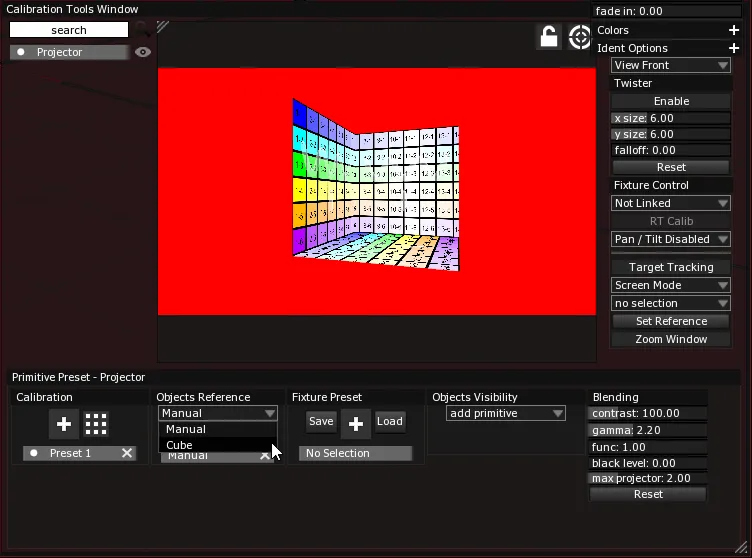
- Select the 3D object corresponding to the Projection Surface you want to make visible for the currently selected Display from the dropdown menu located in the Objects Visibility window section.
Removing a Projection Surface from the Objects Visibility List
Follow these steps if you want to remove a 3D object previously declared as a Projection Surface from a Display’s Objects Visibility list:
- Make sure the 3D Scene module is open (by pressing Alt + C OR by selecting from the Main menu) and that it is currently set in the Calibration mode (by pressing 4 OR by clicking on the
Calibration button).
- Select the Display for which you want to make the Projection Surface invisible by clicking on its entry in the Calibration Tools Window list.
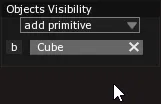
- Use your mouse to rollover the Projection Surface’s entry in the Objects Visibility list and click on the “X” symbol to remove it.
Blanking a Projection Surface from the Objects Visibility List
You might want to temporarily remove a Projection Surface entry from the Objects Visibility list without permanently deleting it. This is called “blanking” and is akin to temporarily muting a video channel linked to a Display and a Projection Surface.
- Make sure the 3D Scene module is open (by pressing Alt + C OR by selecting from the Main menu) and that it is currently set in the Calibration mode (by pressing 4 OR by clicking on the
Calibration button).
- Select the Display for which you want to make the Projection Surface invisible by clicking on its entry in the Calibration Tools Window list.
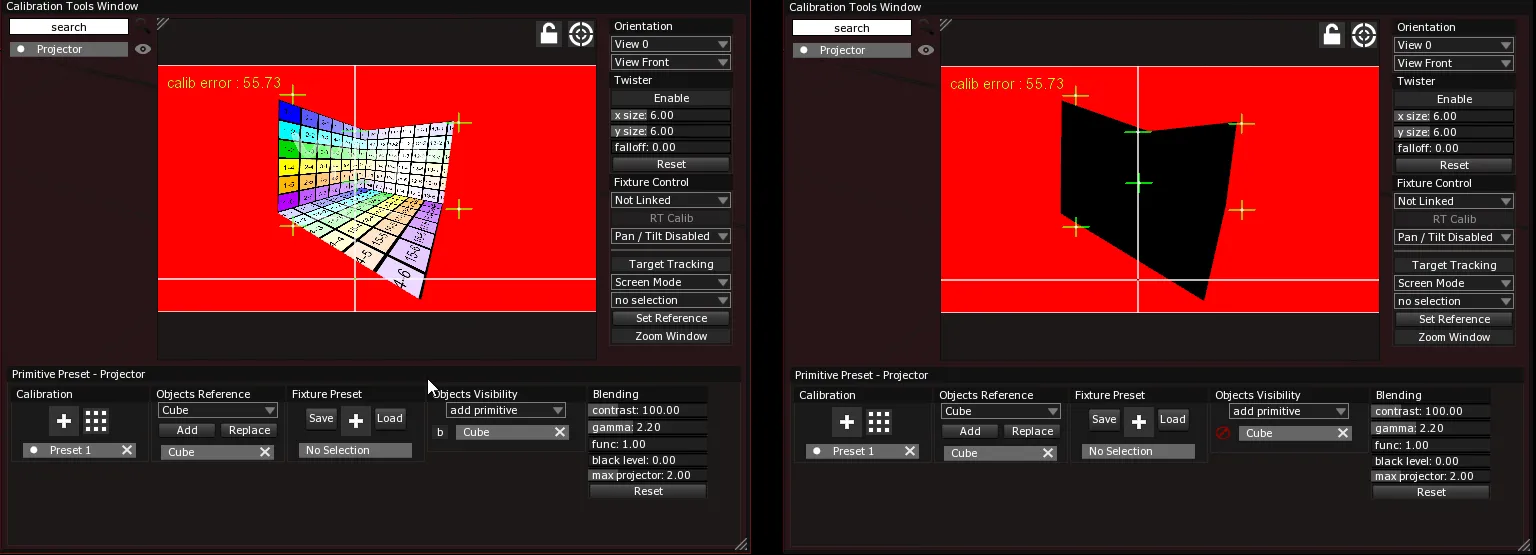
- Click on the b button next to the Projection Surface’s entry in the Objects Visibility list you want to blank. If you wish to “unblank” the Projection Surface, click on the “no entry” symbol that replaced the b button.