PHOTON XENON TACHYON
Once the System Mode and the proper windowing attributes have been applied to all devices in the Server Group, you will have to create the TACHYON or PHOTON Project’s video outputs. These virtual video outputs are the virtual counterparts of the physical outputs on the servers’ graphics cards. They are associated with video media delivery and should be connected to a physical display device such as a video projector, LED processor or video monitor.
Virtual Video Output
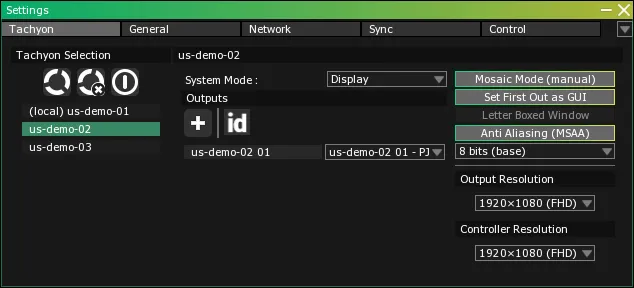
- Select OR press Alt + S
- Click on the
TACHYON or PHOTON tab to access the Outputs window section.
- Go to the TACHYON or PHOTON Selection servers list and select the first server that will be used to display video by clicking on its name
It will be a Display Server or a Display Master Server.
- Once the server is selected, you can add the virtual video outputs to it by clicking on the
+ button in the Outputs window section.
Whenever an output is created, a window titled Create Display will open and ask if you want to create a Projector or an LED Processor in the 3D Scene module and link it to this output. The physical video display devices connected to your outputs are represented in a virtual space called the 3D Scene, which corresponds to the real-life stage where your TACHYON or PHOTON Project will be presented.
The term “Projectors” applies to a wide variety of video displays, with the only exception being LED processors, which are represented by a different type of structure.
If you are starting your TACHYON or PHOTON Project from scratch, you should accept the creation of new Projectors or LED Processors so the 3D Scene will already be populated with virtual display devices. Click on the appropriate button to do so.
There are a few cases where you might want to add virtual video outputs without automatically creating projectors in the 3D Scene. Such cases would be the following:
- video outputs are connected to LED processors; or,
- projectors will be imported from another Project; or,
- the current Project is built over a Projection Study and already has projectors in the 3D Scene.
- The server mosaic has additional monitors plugged into the matrix but not being used for output. When in mosaic mode manual, every output represented in the mosaic must also be in the tachyon output list.
If these conditions apply to you, simply click on the No, Let me link button and repeat this operation with every server in the TACHYON or PHOTON Selection servers list.
Signal Routing Validation through Display Ident
Once the virtual video outputs have been created, you should make sure that signal routing and projector assignation are correct.
- Make sure the Settings module is open.
- Select OR press Alt + S and select the TACHYON or PHOTON tab to access the Outputs window section.
- Activate the
ID toggle.

Once enabled, this option will cause all video outputs to display a random solid color. Each generated image also features an inverted color border, 4 pulsating VYV logos, as well as the name of the output and the projector assigned to it.
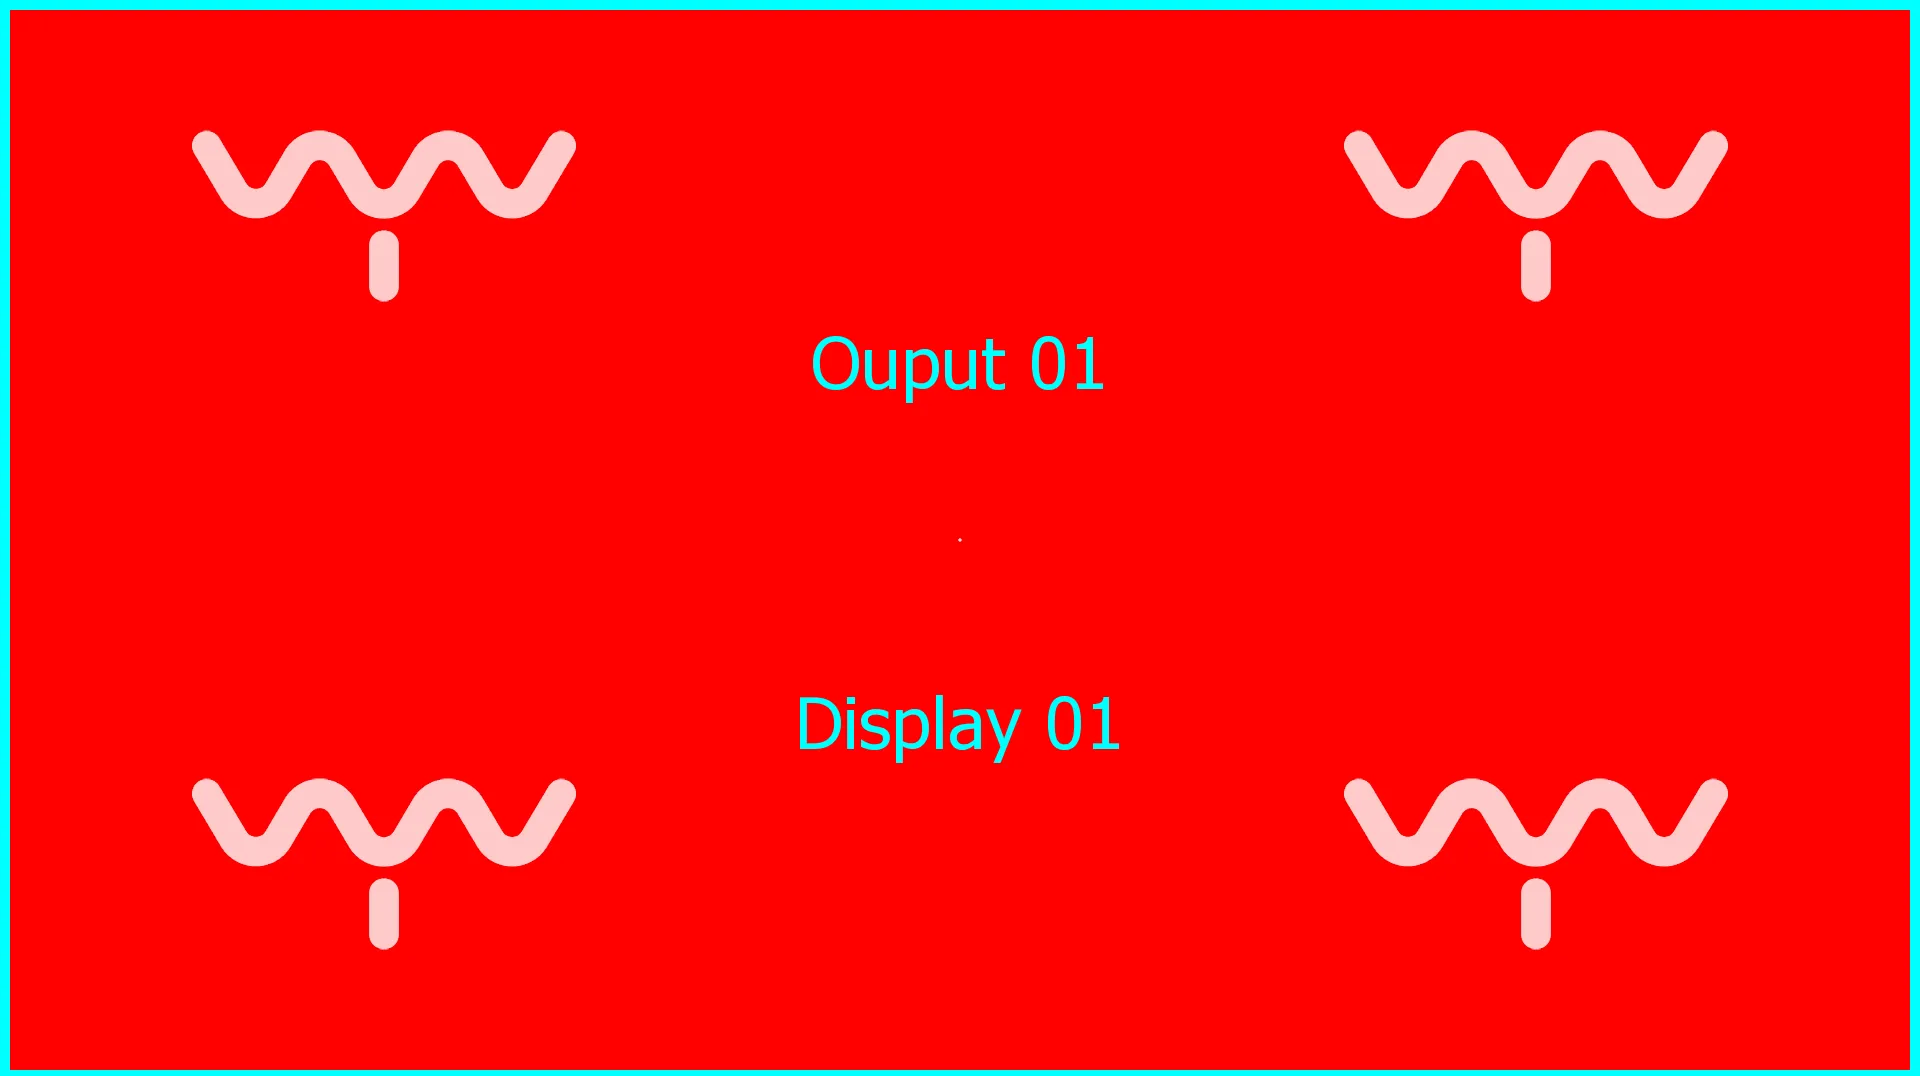
This will allow you to make sure the signal routing is OK.
Warning:Display Idents are rendered on top of everything and there is no automatic mechanism to disable them. Make sure you disable Display Indents manually when you are done with the signal routing testing procedure.
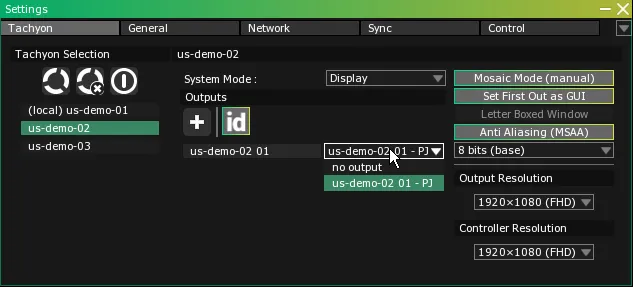
Each of the virtual video outputs listed in the Outputs window section has an Assignation dropdown menu next to it. This dropdown menu links the virtual video output to a representation in the 3D Scene.
- If Projectors were automatically created while creating video outputs, the virtual video outputs listed in the dropdown menus will reflect the fact that they are already linked.
- If you want to set the assignation of a video output to a corresponding 3D Scene virtual display, use the dropdown menu to select the desired virtual output Primitive.
Video Output Assignation and Backup Servers PHOTON
If your Server Group includes a device dedicated to being a Display Server or Display Master Server backup unit, you should plan ahead, and automate switches in projector attribution in order to seamlessly recuperate the outputs driven by the failing server. The following steps should be complemented by Video Matrix cue recording (see Video Matrix Control)
- Select the backup unit by clicking on its name in the PHOTON Selection servers list.
- Create the first virtual video output for your backup unit by pressing on the
+ button in the Outputs window section.
- When prompted by the confirmation box window to create a Projector in the 3D Scene, click on
No.
- Create as many virtual video outputs on the backup unit as there are on your typical Display Server.
- Record a cue with all of your virtual video outputs set to
no output. (See Cue Recording.)
- Record a cue with all of your virtual video outputs set to the Projectors linked to the first Display Server you want to use as a backup in case of failure. (See Cue Recording)
- Repeat the previous step with the remaining Display Servers.